This tutorial will teach you how to create labels for your project. To begin you need to be logged into your Interactive AI account and have your project open. This will continue using the images from the last tutorial.
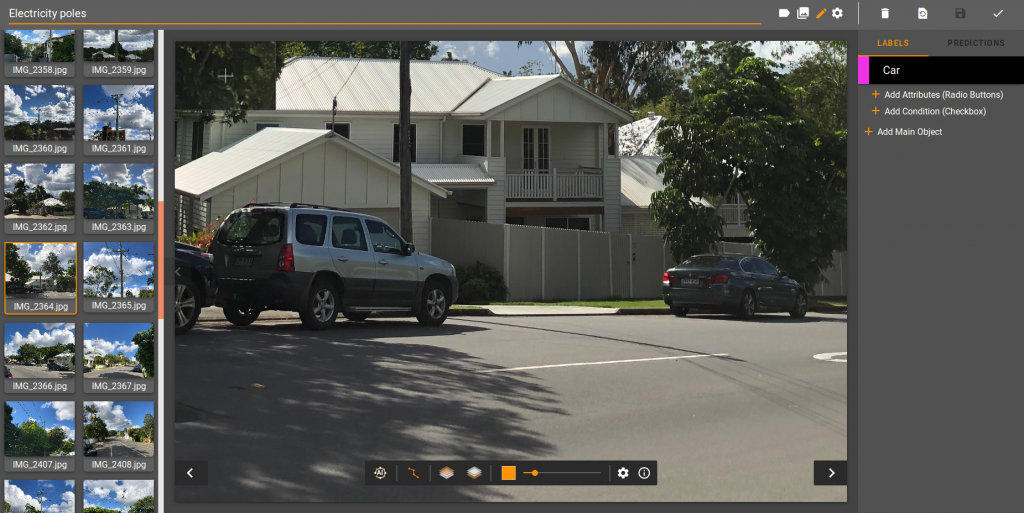
To create a main object label using the left hand panel click the + symbol next to the Label tab. This will allow you to name your label.
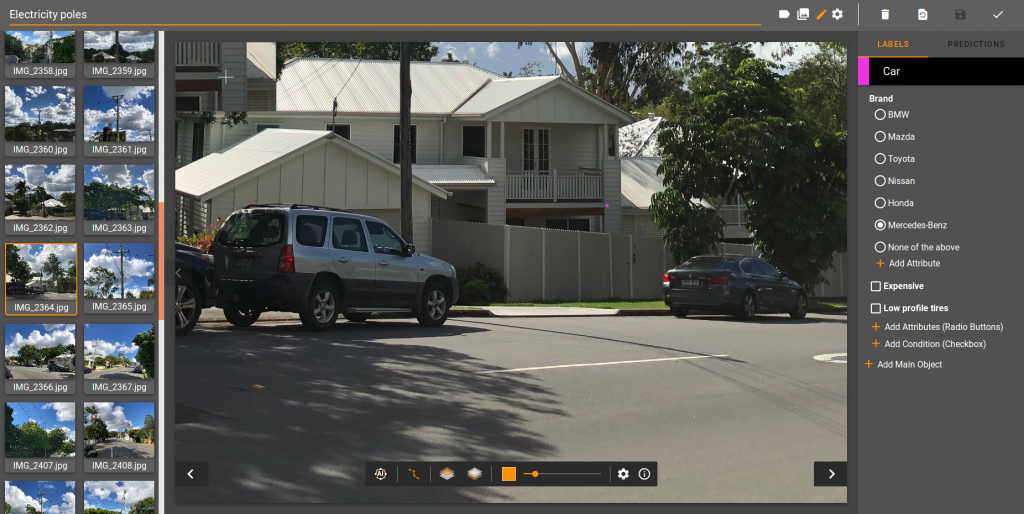
When your label has been created you will be able to add attributes. Attributes come in two forms, checkbox, and radio buttons. A check box is for an attribute that can be true or false. You can have many check boxes selected at once. A radio button allows you to make an attribute that you can select one and only one from a choice of many.
You can choose what type of attribute you wish to create if you have your label selected. When the label is selected all attribute options will drop down. For the image below we want to label cars with their brand, are they expensive, and do they have low profile tires.
To do this the most fitting way of giving the label the brand attribute is to create a radio button list to choose the brand from since a car can only be one brand. This is one example of how it can be set up.
To create the attribute select the drop down menu of the label by clicking the three dots on the right of the label. This menu allows you to control different aspects of the label.
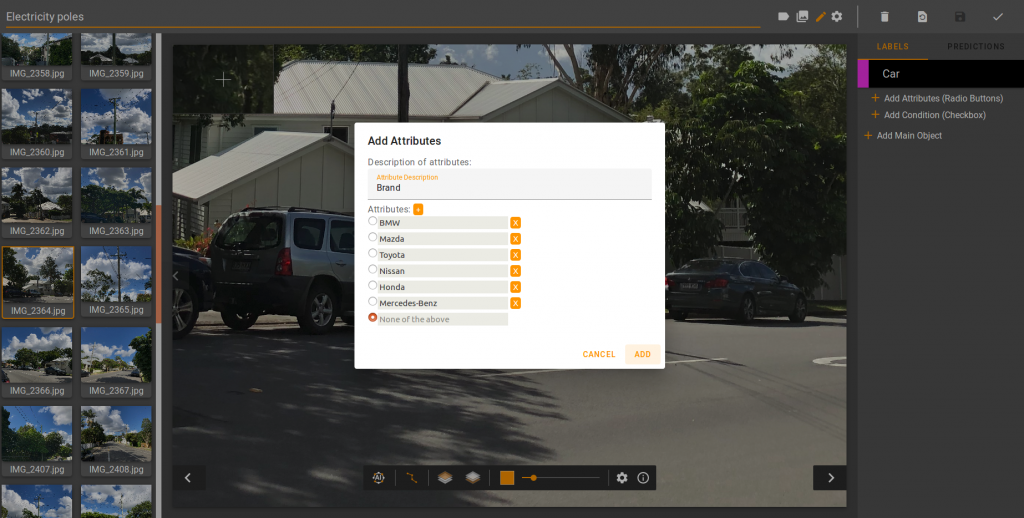
You can add or remove entries from the radio button list if you make a mistake. Use the three buttons on the right of the attribute to rename/delete and set other radio button attributes.
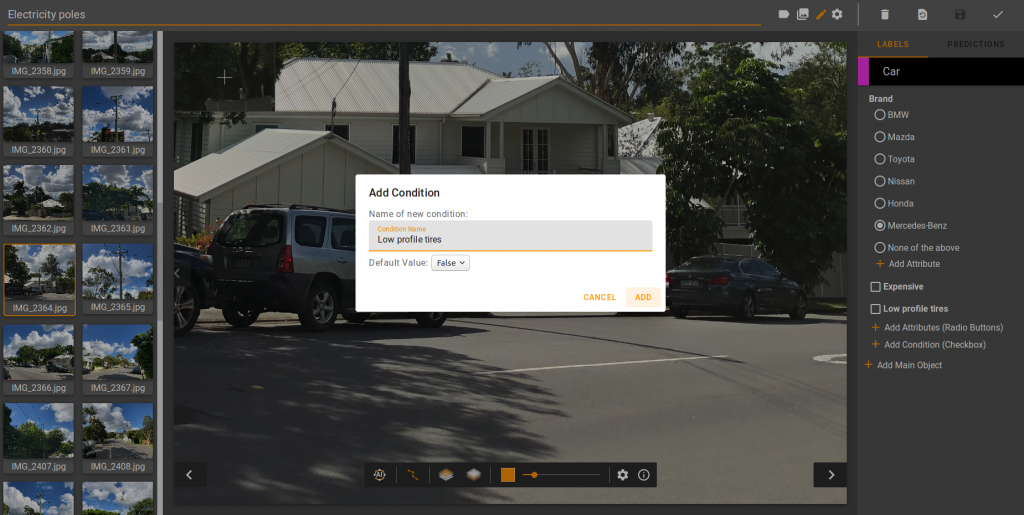
Now to give the label the attribute of having low profile tires or being above a certain price the most fitting in this case is to use a condition as it is the most simple method. You could use radio buttons for this labelling your entries as true or false but this is more complicated and it will be easier to make a mistake. To create the condition attribute you need to click the three buttons on the right of the label and click add condition. You will then be greeted with a screen that allows you to name your option and set it to default to true or false. An example is shown below.
So that’s it. You’ve learnt how to create labels for your project in MaxusAI.
Relevant links: