Working on a larger dataset can be a lot of work. The task system aims to break these large tasks into smaller tasks and create a workflow to get these large jobs completed. The task system is build to accomodate assigning workers to different images and roles. Each role has customised toolset to assist, resulting in higher quality and faster results.
Prerequisites:
- You have created a project and you are the owner
- Project has been connected to an s3 Bucket
- Workers you wish to assign to tasks are already in the projects worker pool
Start Task Creation
Click the task icon from the LabelEngine’s homepage

Click the big add task button to start creating a new task

Select the project that associated with the task you are creating. This is the project containing the images and label-map you wish to work with. Once An image has moved through the task system pipeline it will appear as “Validated” in the default project view.
Once a project has been selected the next page will appear and ask for a task name, enter and name then click “Setup Assignees” to progress.
Assign Workers and Roles
Now is when we will select which users to add to this task and what roles they will carry. As a good practice start by clicking the tick on your user for each of the roles so you have access to see the data as it flows through the different stages. Then assign roles to your project members. If you do not want a group member to have access to the task simply do not assign them a role.
To progress click “Setup Images”
Setup Images
Now we will be adding Images. This part requires the task to be connected to an S3 bucket as it will be pulling directly from the bucket when a worker accesses the task. To select images you have 2 options:
Manual Selection
This is the most common way to add images. Simply click the “Add Images” Button, then select the folder or images you wish to add to the task from the s3 explorer clicking “Add” to add them to the task.
Sampling Optimised Images
This method looks at the current datasets annotations and attempts to select the most important images to annotate next that the Machine learning model would benefit most from being annotated.
Click “Sampling Optimised Images”
Click “Continue”
Wait for the process to be completed
Click “Add Optimised Images”
After images have been selected there are now options on how you would like to distribute this work. If you already have images annotated and want to use the task system to standardise the review and/or validate process you can manually override the images to be started from the review or validate role by ticking the first checkbox then selecting the current state of the images added.
Also you now have the option to decide how the images will be distributed. Do you want all workers to have access to all of the images or each worker to have access to a subset? In the Division dropdown select either “Shared” (default) which will give all workers access to all images or “Even Split“ which will distribute images to users evenly so that no 2 workers have access to the same image.
Now finalise the task creation by clicking “Add Task”
Accessing Tasks
There are 3 ways to access tasks once they have been created.
- As the Owner to view the owners dashboard
- As a worker to open the Annotate, Review and Validate portals
- Viewing a completed task
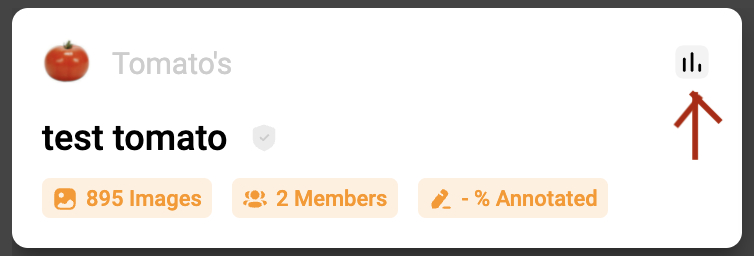
To view the owners dashboard click the analytics icon on the top right of the task tile in the “Owned by you” section. The dashboard will appear as shown below.
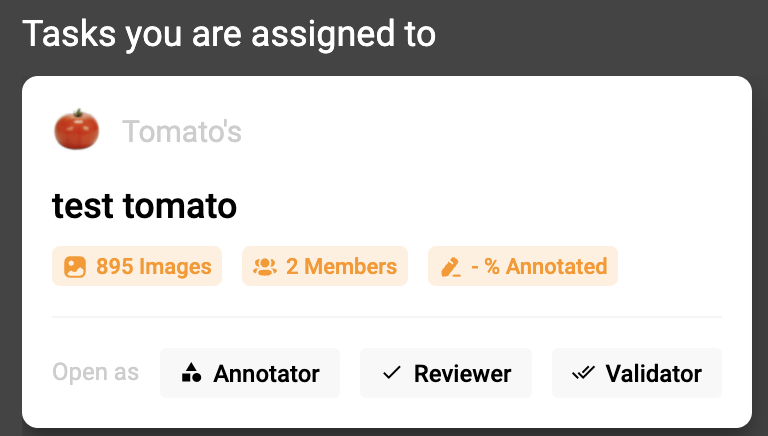
To open a task as a worker. Under the “Tasks you are assigned to” section, click on either “Annotator”, “Reviewer” or “Validator” buttons to directly open up the LabelEngine with the task loaded.
If the stage does not yet have images in it or your user does not have access to to the portal due to your role then the button will not be clickable.