Using an S3 bucket with the MAXUSAI annotator allows you to seamlessly collaborate on the same images as your team members, whilst maintaining a closed loop network.
Setting up your S3 Bucket so that a connection can be made from the annotator is comprised of 4 simple steps:
- Creating the group
- Creating the user
- Creating the S3 Bucket (optional)
- Configuring the S3 Bucket
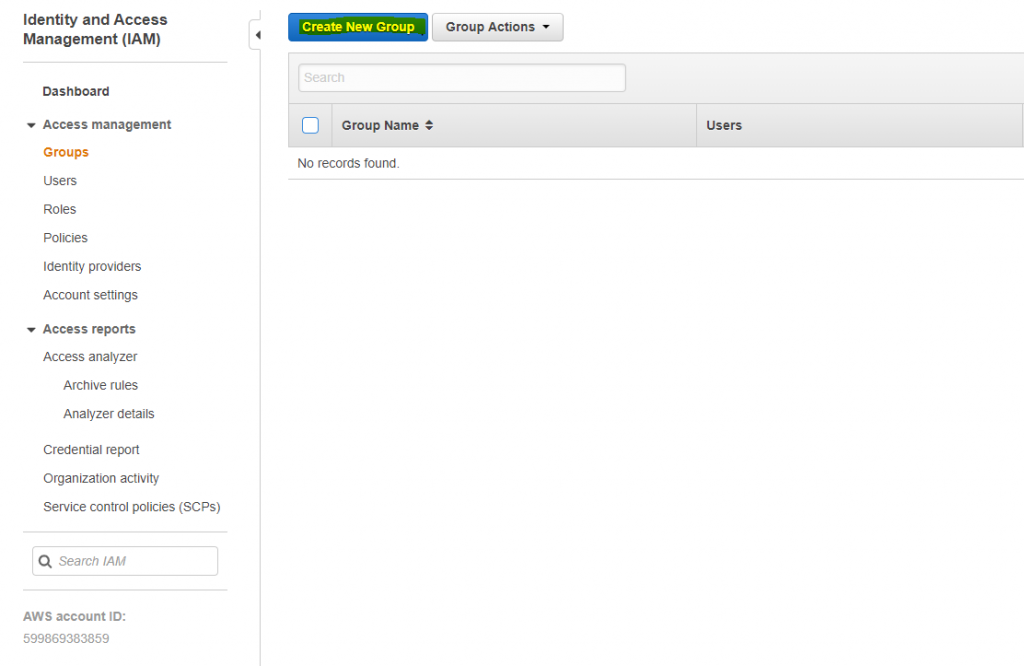
1. Creating the group
An IAM group allows you to specify the permissions each user has in regards to the AWS services. In this case, the annotator only requires S3 bucket read permissions.
To create a group that allows this, navigate to the “IAM Management Console”. Then click on “Groups” below “Access Management” and create a new group. Enter the name of your group – which can be anything – and remember the name of this group for step 2. Then hit “Next Step” and attach the “AmazonS3ReadOnlyAccess” policy to the group by ticking the checkbox to the left of it and hitting “Next Step”. When given the panel to review the group you are about to create, hit “Create Group”.
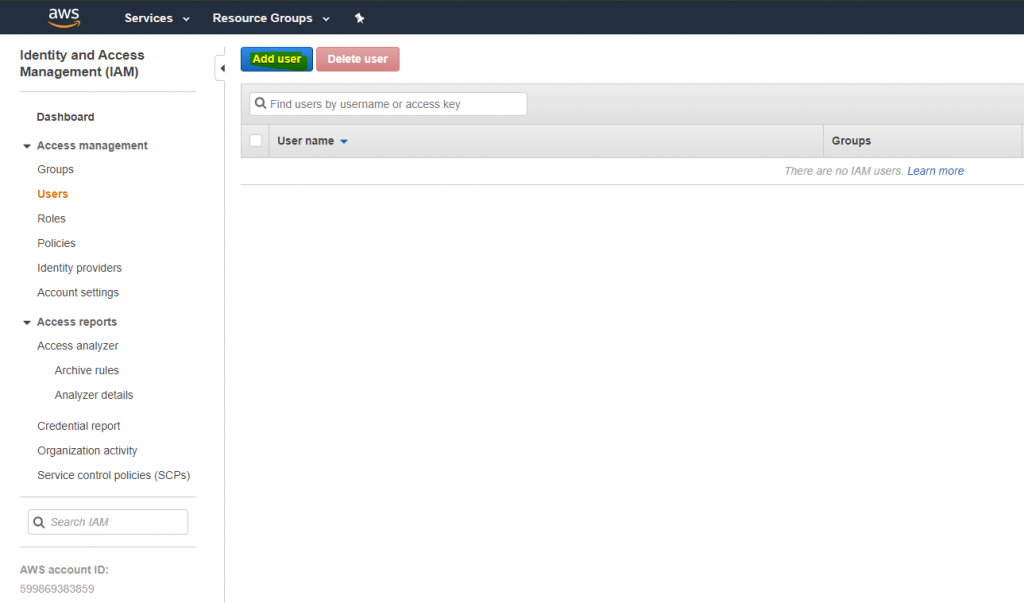
2. Creating the user
An IAM user allows you to give specific permissions to either an external application or person based on the linked group.
To create the user for the annotator to use, click on “Users”, below “Groups” in the “IAM Management Console” and add a new user. Type in a username for the new user, then check “Programmatic access” under the “Select AWS access type” heading and hit “Next: Permissions” button. Then, in the permissions panel, check the group that you created in step 1 and hit “Next: Tags”. We can skip the tags part of creating a user so hit “Next: Review” and then “Create user”.
The last panel that AWS will show you is the success panel. Copy down the “Access key ID” and the “Secret access key” as these will be used in the annotator when you need to connect. You can now close the panel and proceed to step 3.
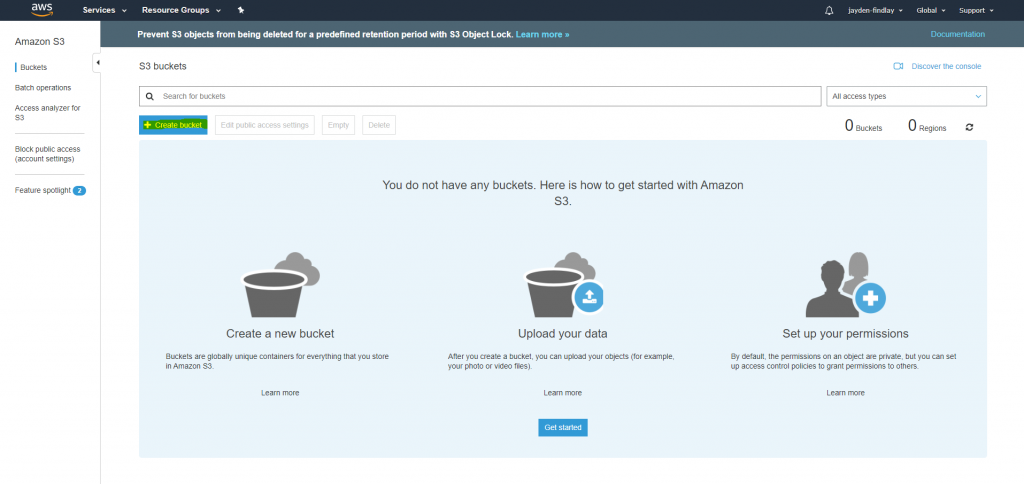
3. Creating the S3 Bucket
If you have already created an S3 Bucket that you would like to use for the annotator, take note of the bucket region and name and proceed to step 4.
To create an S3 Bucket, navigate to the “S3 Management Console” and create a bucket. Enter your bucket name, region and take note of these for when you connect in the annotator. Then hit “Next” 3 times, and then hit “Create Bucket”.
4. Configuring the S3 Bucket
Configuring the S3 Bucket allows the annotator to connect to it and read the bucket’s files from your local machine’s address.
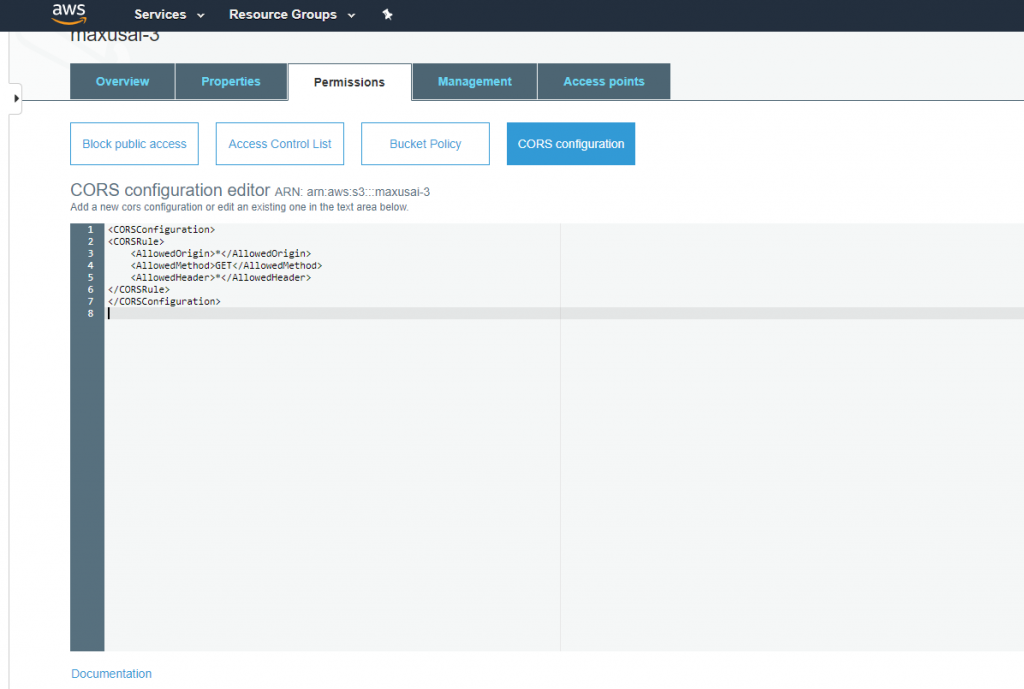
To configure the S3 Bucket, navigate to the “S3 Management Console” and click on the desired bucket. Then click on the “Permissions” tab, then on “Block Public Access”. Click on the “Edit” button, then untick “Block all public access” and hit “Save”.
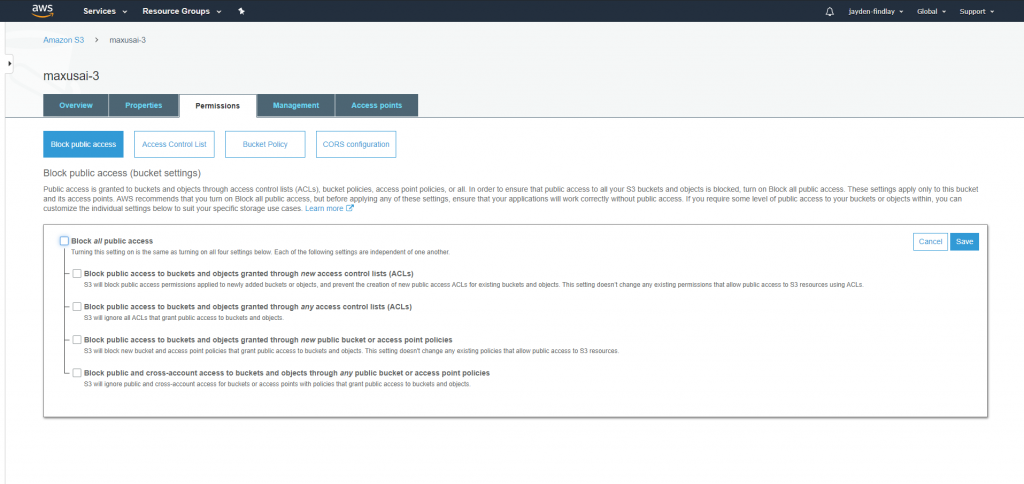
Then confirm the changes. Now, click on “CORS configuration” and paste this configuration into the code window:
<CORSConfiguration>
<CORSRule>
<AllowedOrigin>*</AllowedOrigin>
<AllowedMethod>GET</AllowedMethod>
<AllowedHeader>*</AllowedHeader>
</CORSRule>
</CORSConfiguration>
Then hit “Save”.
You’re Done! With the Key, Secret access key, Bucket name and Bucket region you can now connect to your bucket via the annotator!